Easy Way To Fix My AirPods Blinking Orange
Apple AirPods are popular and have many positive features, it’s true that they can also have some issues.
Even if Apple Airpods are amazing and simple to use, at times, it can begin to flash specific coloured lights. The lights range from white, orange and green, and each colour stands for something different. To fix the orange colour issue, see the answer to your How Do I Fix My AirPods Blinking Orange question:
What Does A Flashing Orange Light Mean?
If your AirPods flashes solid green, this means that the battery has lots of juice. If it flashes orange, it means you have less than one full charge on them. If the light flashes white, it means that the device is set to set up. Immediately you see your Airpods blinking orange, you simply have to set it up again. Do not worry though, because the setup process is far from complicated. We break it all down below:
How Can I Set Up My AirPods?
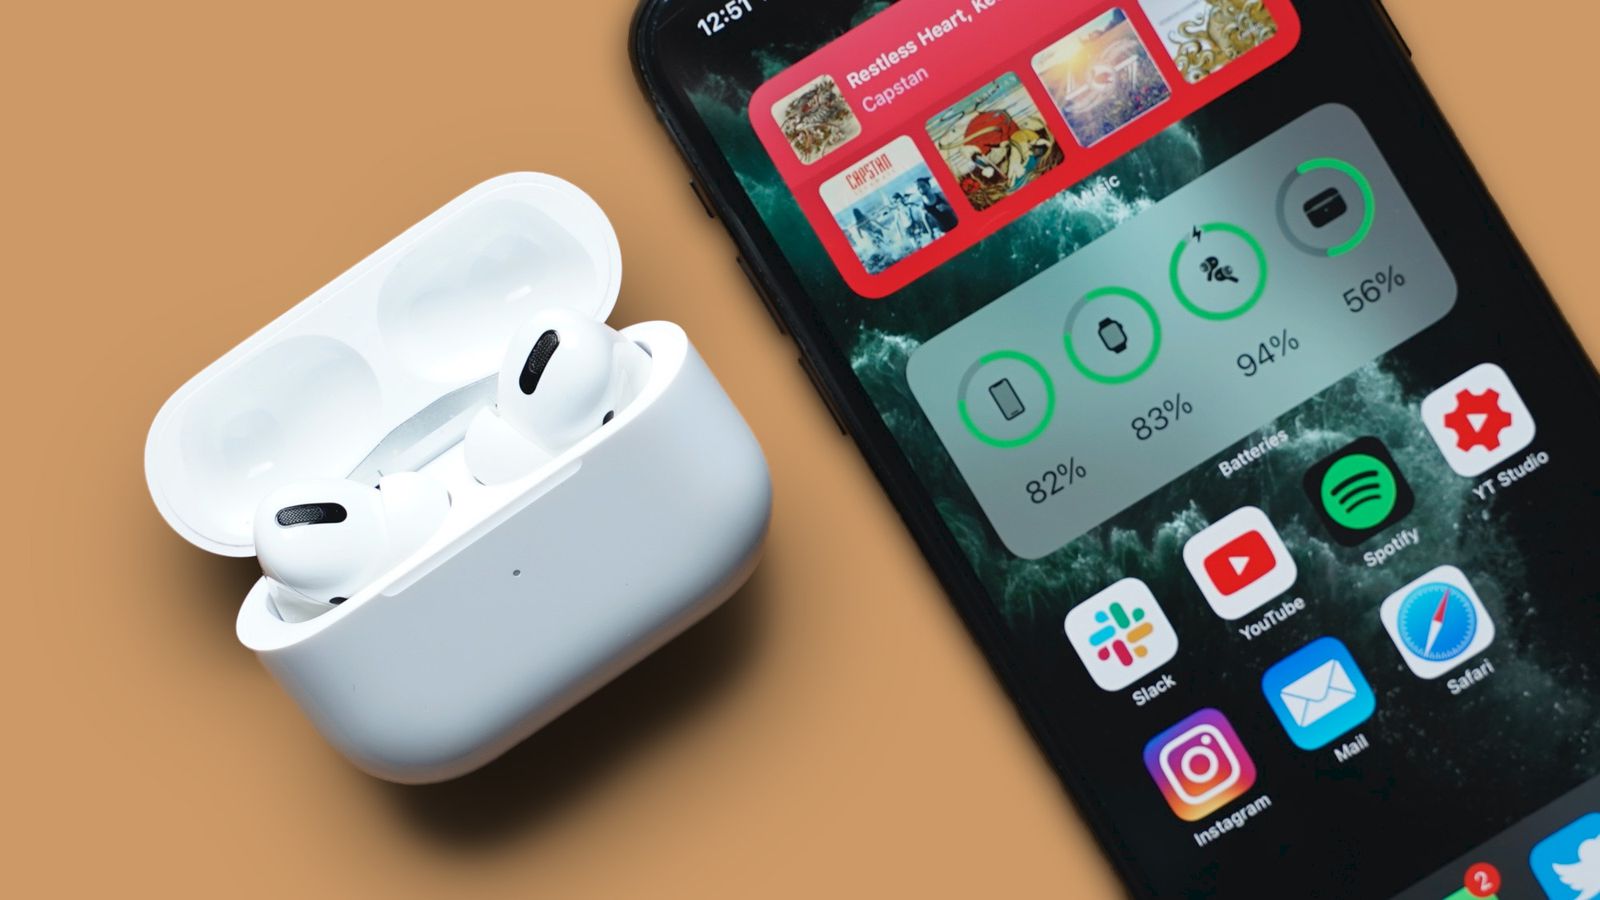
To set up your AirPods, simply head to the Home screen on your iPhone and open the lid on the case while the AirPods are inside. Ensure the AirPods is placed close to your phone and a notification would be visible almost immediately. Click “Connect.”

You Might Also Want To Read: How to use Google Assistant with AirPods Pro
If you are yet to set up “Hey Siri” on your iPhone, the phone will guide you through the process. This is especially the case for gen-2 AirPods and AirPods Pro. Once this is done, your AirPods would be good to go, and the flashing orange light will be a thing of the past.
How Can I Change The Name Of My AirPods
Like several other Apple devices, your AirPods will be named as well. By default, this should be [your name]’s AirPods, however, you are allowed to customize your AirPods’ name if that is what you want.
You Might Also Want To Read: How to enable spatial audio on AirPods Pro
To make this happen, simply head to your Bluetooth settings. Access “Settings” on your iPhone or iPad, and head to “Bluetooth” After that, check the list of available devices. Under “My Devices” and close to your AirPods, click “i,” then click “Name” to alter it.
To pair your AirPods with non-iOS devices, such as Android smartphones, Windows computers, or other Bluetooth-enabled devices, you can follow these general steps:
- Put your AirPods in pairing mode: Open the lid of your AirPods case (with the AirPods inside) and press and hold the small button on the back of the case until the LED light on the front starts flashing white.
- Enable Bluetooth on your non-iOS device: Go to the Bluetooth settings on your device and make sure Bluetooth is turned on.
- Locate and select your AirPods: In the Bluetooth settings of your device, you should see a list of available devices. Look for your AirPods in the list, which may appear as “AirPods” or a similar name. Tap on the AirPods to initiate the pairing process.
- Complete the pairing process: Depending on your device, you may be prompted to enter a PIN or confirm a code. Follow the on-screen instructions to complete the pairing process. Once successfully paired, the LED light on the AirPods case should turn solid white.
- Test the connection: Play some audio on your device to ensure that the sound is coming through your AirPods. Adjust the volume as needed.
